Housewife, cheapskate, crafter, mum. Trying not to go crazy, trying not to go broke.

Friday, December 17, 2010

Mischief of one kind...

The night Screamstress wore her wolf suit and made mischief of one kind...
and another... an idea grew...
and grew...
 
until her walls hung with fabric...
and an amazing dress came about!
Who doesn't love the wild things, with their recklessly mismatched textures and body parts.
This season I am rejecting the ideas of fashionable, tasteful and new.  
I am embracing a new aesthetic, one of making new from old, reusing, mending, finding your own style, and having fun!
Check out this wonderful site, www.thesustainablestylist.com.
I would absolutely love to see what everyone else is doing this party season too, so add your comment and I'll come and have a look!
(And please excuse the photos, my 5yr old son took them because no one else was home!)

 "Let the wild rumpus start!"

Tuesday, December 14, 2010

Summer Dress Refashion

This refashion was inspired by all the dresses in the shops at the moment which feature a stretch bodice and a printed cotton skirt.  It looked like such an easy style to copy, and also to wear.  My refashion turned out a little different to the inspiration, but the techniques could easily be used to refashion a singlet and skirt into a dress.  I discovered this skirt in my cupboard, which was nice fabric, but an odd length, and I could never find the right colour top to wear with it.
 When I played around with it, I found that if I pulled it right up, the elastic waistband sat really nicely as a neckline.  It is a tiered skirt, so I simply unpicked the bottom of the first tier.  In the diagram below, section A will become the bust of the dress, I cut section B to become the straps, and section C becomes the skirt.
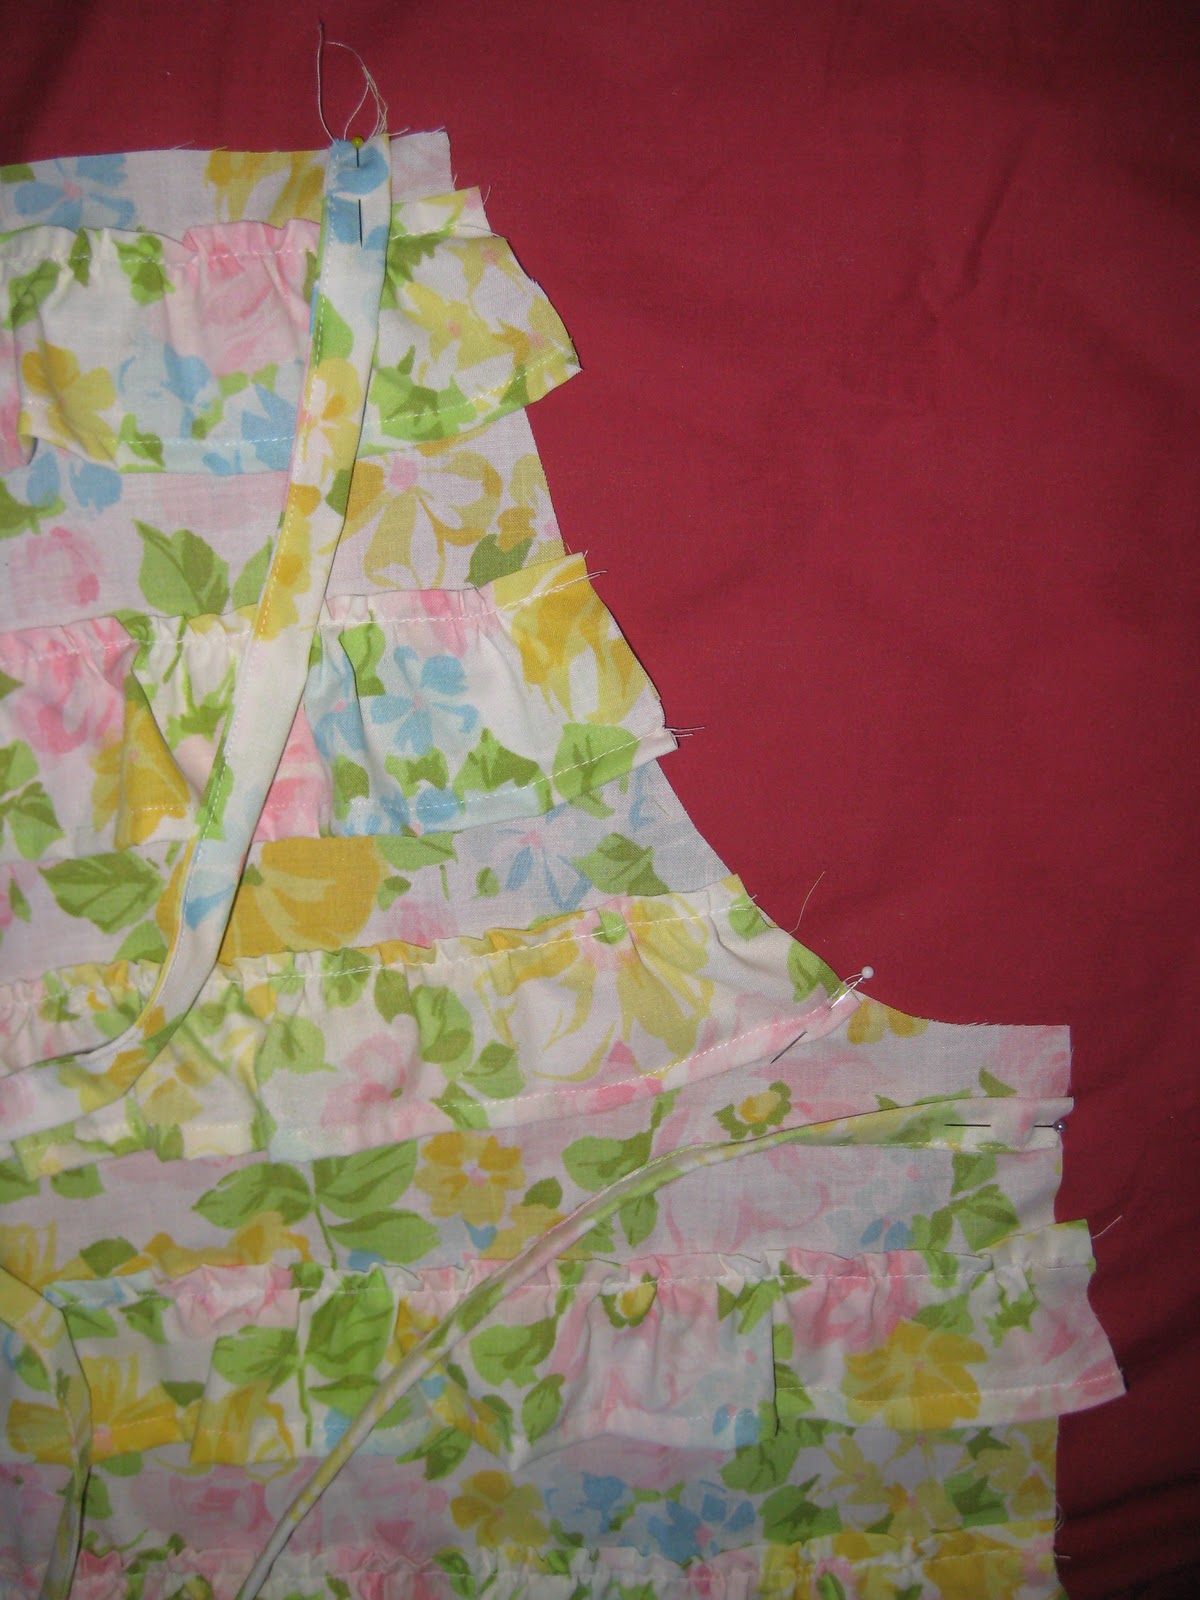
The only trick when sewing a stretchy fabric band (or singlet) onto something with less stretch (ie. the skirt), is that it needs help to hold it firm.  So, on the bottom of the bust part, and on the top of the skirt part, zigzag stitch some elastic.  Stretch the elastic as you stitch, and it will also help you gather it in nice and evenly.
This is what it looks like from the inside.
Attach some straps and you're done.
A very simple summer dress refashion.

I found this photo that my son took of me as I was working.  I'm sitting in my bedroom at my sewing table, in my happy little industrious space.

Monday, December 13, 2010

Stash Busting Salsa Apron

I love how when people find out I enjoy sewing they give me all sorts of odd fabric. 
Put it together with this beautiful but tired $1 caftan top.
All you need is fabric for the body, and three strips for the ruffles. Basically just hem three sides of your strips, then ruffle the top and stitch to your apron.  I hemmed the edges of the apron before I attached my ruffles, to make it easier.  You could even use a plain apron body from the op-shop, and attach your ruffles to that.  (My apron body is actually two fabrics sewn together, because I had a limited amount of the caftan fabric.)
Then attach neck and waist straps and you're done!  This one is a christmas gift for my sister, cheap but with lots of love.

Friday, December 10, 2010

A Happy List

Happy... Happy? HAPPY!
Over at Fox's Lane, Kate has started a meme about simple things that make her happy.  I think it is a wonderful, unpretentious and genuinely uplifting idea.  So, eyes closed, here goes, stream of consciousness, what makes me feel happy?
kneading pizza dough
 

my daughter's breath
 

running a hand over the back of a quilt and feeling all the stitches
 

Panda chest hair
 

when my kids call me 'beautiful mummy'
 

driving by myself with the radio on
 

my mothers white fluffy hair
 

suspecting the kids of being naughty and discovering they're just playing together quietly
 

slightly crunchy warm sundried washing
 
feedback on my blog from people who understand what I'm on about!

Thursday, December 9, 2010

Thankyou

You know the scene from "Terms of Endearment" when Debra Winger is in the supermarket?

 Well I had a bit of a moment.  Stuck in Aldi with two rowdy three year olds, with no $2 coin or token for the trolley, stressing out because they don't have baskets, trying to make the children carry the groceries, trying to figure out how to leave (one-way automatic doors eek!)
It all sounds so stupid now.
When everybody else was looking away embarassed, one kind woman gave me a coin for the trolley.  It was all I could do to manage a little 'thankyou' at the time and stop myself bursting into tears.  So I would just like to say thankyou to that kind lady. 
Go rent "Terms of Endearment".  Its a wonderful film, watch it, don't live it.

Tuesday, December 7, 2010

A Day (or few) in the Life

I have been...
 hanging out at home
 decorating a birthday cake for my 5yr old baby boy
playing silly home made games with friends and family
 relishing a big stack of vintage fabrics I got given for my birthday
 designing a beanstalk
 to applique on some derby shorts for the "BeanStalker"
 sneakily adding a 'daddy' figure to a kinder souvenir plate.  Big S said "I ran out of room", but the Panda would be shattered to find out he wasn't included.  Can you tell which one it is?  Far right, with flames coming out of his feet.  I'm hoping he won't notice unless he puts his dis-used glasses on.
 turning squashy bananas into the Best Ever Banana Muffins.  (I only use 1/2 cup of sugar though)
and making biscuits for the teachers.  Apparently it is not a good photo unless it has someones head in it!
Sometimes all the clamour of life seems unbearable, and at other times it seems almost perfect.

Friday, December 3, 2010

Funny Target Game

I LOVE it when the kids play outside.  So I thought I would help them, by making a target game.
Its simply an old sheet, folded double, sewed up on two edges.   Then I sewed a circle in the centre and cut a hole.  I was a bit lucky, I made the hole the size of my dinner plate, without considering the size of the balls that would have to go through it!
I left the top open so that I could put a bean bag in each corner to anchor it, and get them out when we're finished.  And to make it look less like a sheet with a hole, I used my laundry marker to draw on a circle for 5 and 10 points.
 
GOAL!

Sunday, November 28, 2010

Kids Craft Gifts - Button Magnets

I saw these cute button magnets on a dear friend's fridge.  (Check out her new blog, we're very excited about her forthcoming shop and gallery!) 
 All it took were some assorted buttons (stash), a packet of office magnetic dots ($1) and a bottle of glue($2).
We loved sorting the buttons and picking out our favourites. I found some metal tins from a bargain store to present them nicely.
Santas impressed!  I hope the aunties are too ;)

We had such fun with them, we made some more for own fridge later. 
This week I've linked up with C.R.A.F.T's Making Mondays Marvellous, check it out!

Friday, November 26, 2010

$1 Fridays

Glass fruit bowl $1.  I love summer fruit!

Wednesday, November 24, 2010

The Dream

So, craft mirrors life.
 I had an idea, a dream (see previous post).  I tried, adjusted, tried, adjusted, compromised.  The fabric resisted my attempts at change.  It had different properties (more polyester and a crisper handle) than I had originally thought.
Its always difficult to know when to keep trying, and when to accept something for what it is, and change the plan.

So I didn't end up with a pretty summer frock.
But I did get a very nice apron.

Monday, November 22, 2010

A Little Imagination

"What is that?" enquires the Panda.
"A dress" I say. 
"Well its bloody ugly.  Even the print is s#*t.  And you can quote me on your blog too" says the Panda, laughing.
Sounds like a challenge to me!
Sometimes you need imagination.  
In my head this dress is a lovely 50's style sundress.  Look how happy I am, lovingly picking out the best apples for my family!  Hear my happy song as I do the dishes wearing my pretty new frock and neat floral apron.
That's the idea anyway, that's the dream.
Tune in to see what the reality turns out like!

Friday, November 19, 2010

Summer Ruffled Apron

 This year I am deliberately rebelling against mass produced gifts.  My good friend's birthday has just passed, so I've made her this apron from a retro sheet.  It hasn't cost me much money, but it did take time and thought, and I really do hope she likes it.
  All I did was to cut two aprons from the edge of the sheet.  I used one of my aprons to cut around.  For the ruffles I first calculated the length I would need if the ruffles were flat, then multiplied that number by 1.5 for fullness.  So, in the example below (ha ha I really need to learn computer graphics properly!) I would need 4.5m of fabric strip for the ruffles.
I measured 10cm intervals along the side of my fabric, and then tore the strips off.  Then all you do is hem one edge.  The other edge you press with an iron, and then do a long straight stitch.
 
Pin the centre of the strip to the centre of the apron (because my apron was 60cm wide, each of my strips were 90cm long) and pull up the straight stitch to gather.
 
 I made the apron ties out of the fabric, but you could use ribbon or twill tape to make it easier.  Pin them in place, making sure the head of the pin is on the outside.
 Place the second apron shape (remember we cut two?) on the ruffled apron with right sides together, stitch and turn out.  You could bind the edge as well, but I just find it easier, and it means that the apron is thicker and all the rough ends are nicely enclosed.
Happy Birthday!

Tuesday, November 16, 2010

Smiling Politely

 Guess which child dressed themself?
 I'll give you a clue.  They've chosen frog toe-socks teamed with sandals.  And topped it off with red gingham pants, pink floral t-shirt, rainbow hoody.  What else to accessorize with than pink princess sunglasses and a black and white hat?
 The thing is, I didn't realize until AFTER  we returned from the shops that I had on my pirate skate t-shirt.
I love my little Team Nutbag!
Related Posts with Thumbnails