Housewife, cheapskate, crafter, mum. Trying not to go crazy, trying not to go broke.

Sunday, November 28, 2010

Kids Craft Gifts - Button Magnets

I saw these cute button magnets on a dear friend's fridge.  (Check out her new blog, we're very excited about her forthcoming shop and gallery!) 
 All it took were some assorted buttons (stash), a packet of office magnetic dots ($1) and a bottle of glue($2).
We loved sorting the buttons and picking out our favourites. I found some metal tins from a bargain store to present them nicely.
Santas impressed!  I hope the aunties are too ;)

We had such fun with them, we made some more for own fridge later. 
This week I've linked up with C.R.A.F.T's Making Mondays Marvellous, check it out!

Friday, November 26, 2010

$1 Fridays

Glass fruit bowl $1.  I love summer fruit!

Wednesday, November 24, 2010

The Dream

So, craft mirrors life.
 I had an idea, a dream (see previous post).  I tried, adjusted, tried, adjusted, compromised.  The fabric resisted my attempts at change.  It had different properties (more polyester and a crisper handle) than I had originally thought.
Its always difficult to know when to keep trying, and when to accept something for what it is, and change the plan.

So I didn't end up with a pretty summer frock.
But I did get a very nice apron.

Monday, November 22, 2010

A Little Imagination

"What is that?" enquires the Panda.
"A dress" I say. 
"Well its bloody ugly.  Even the print is s#*t.  And you can quote me on your blog too" says the Panda, laughing.
Sounds like a challenge to me!
Sometimes you need imagination.  
In my head this dress is a lovely 50's style sundress.  Look how happy I am, lovingly picking out the best apples for my family!  Hear my happy song as I do the dishes wearing my pretty new frock and neat floral apron.
That's the idea anyway, that's the dream.
Tune in to see what the reality turns out like!

Friday, November 19, 2010

Summer Ruffled Apron

 This year I am deliberately rebelling against mass produced gifts.  My good friend's birthday has just passed, so I've made her this apron from a retro sheet.  It hasn't cost me much money, but it did take time and thought, and I really do hope she likes it.
  All I did was to cut two aprons from the edge of the sheet.  I used one of my aprons to cut around.  For the ruffles I first calculated the length I would need if the ruffles were flat, then multiplied that number by 1.5 for fullness.  So, in the example below (ha ha I really need to learn computer graphics properly!) I would need 4.5m of fabric strip for the ruffles.
I measured 10cm intervals along the side of my fabric, and then tore the strips off.  Then all you do is hem one edge.  The other edge you press with an iron, and then do a long straight stitch.
 
Pin the centre of the strip to the centre of the apron (because my apron was 60cm wide, each of my strips were 90cm long) and pull up the straight stitch to gather.
 
 I made the apron ties out of the fabric, but you could use ribbon or twill tape to make it easier.  Pin them in place, making sure the head of the pin is on the outside.
 Place the second apron shape (remember we cut two?) on the ruffled apron with right sides together, stitch and turn out.  You could bind the edge as well, but I just find it easier, and it means that the apron is thicker and all the rough ends are nicely enclosed.
Happy Birthday!

Tuesday, November 16, 2010

Smiling Politely

 Guess which child dressed themself?
 I'll give you a clue.  They've chosen frog toe-socks teamed with sandals.  And topped it off with red gingham pants, pink floral t-shirt, rainbow hoody.  What else to accessorize with than pink princess sunglasses and a black and white hat?
 The thing is, I didn't realize until AFTER  we returned from the shops that I had on my pirate skate t-shirt.
I love my little Team Nutbag!

Sunday, November 14, 2010

Midriff Tops Begone!

You know those tops you have, and you always put them on and THEN remember they're a bit short so you'll have to put something underneath, then you feel all lumpy and it doesn't sit right and you're running late so you just rip everything off and wear a t-shirt instead?
I kept these singlets because I liked the prints, even though they were always too short.  I got the t-shirt with the print I'd never wear for 20c, because it is nice and soft.  New fabric would just not work for this project.  All you do is cut the t-shirt into two bands, and stitch to the bottom of the singlets.
The trick is to make the join flat, and make the seam look like its just the hem of the singlet.
There!  No more I-can't-dress-myself angst.
But did I hear someone ask "where did that dodgy print go?"
I'd never wear it on my front, but I would wear it tongue-in-cheek on my butt!
(An aside - I realized how much extra this photo reveals about myself - the toy truck on the floor, the moving box full of books in the corner even though we've been here 2years we still don't have a bookcase, the stray thread clinging to my hip because my house has snipped threads that manage to get everywhere!)

Wednesday, November 10, 2010

Kids Pinafore Apron Tutorial

 The fabric for this apron came from thrifted curtains, and a cot sheet.  I drafted the pattern myself, getting a rough size by using a singlet of the kids.  Front and back is the same, it can be a loose fit because they will be wearing it over their clothes.
Fold your fabrics in half, and lay one on top of the other.  Make sure the picture on your printed fabric is in a good spot, you don't want a headless kangaroo centre front!
 Once you have cut your apron out, look at the scraps to see if there is a picture you would like to use for the pocket.  I chose the rabbits.  Cut out the picture in a square, fold and press the edges in.
 Stitch along the top of the pocket.
 Position pocket, it doesn't have to be in the middle, and stitch in place.
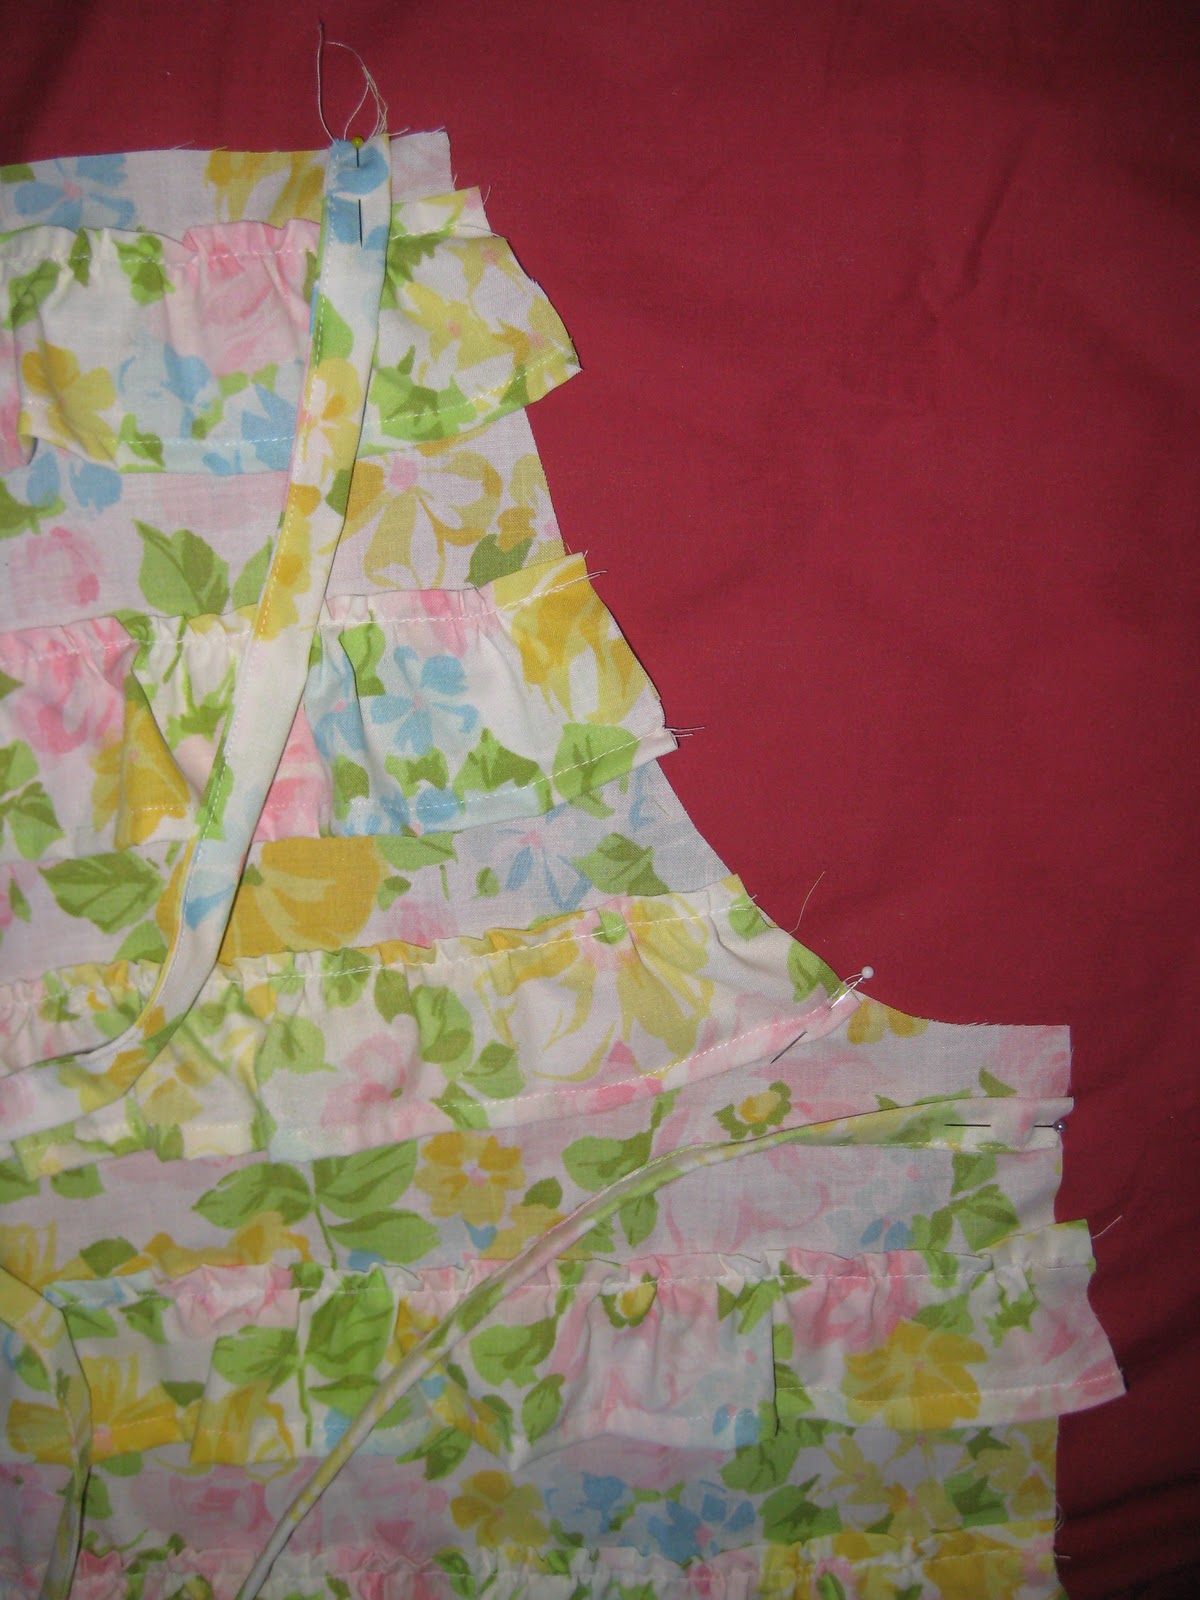
 Pin lining to apron, right sides together.  Stitch, leaving the shoulder seams open.
 Clip curves.  Don't forget to leave tiny little triangles on the carpet to send your husband/partner/housemates crazy.
 Turn right way out.
 Poke back shoulder strap into front shoulder strap and pin.
 Stitch, making sure you are getting the lining as well.  Iron the apron.
 Make a buttonhole on one side of the back.
 Stitch a button on the other side.
Get a handsome model and Voila!  Easy.

Kids Apron

 This pinafore apron turned out so well, and was so easy to make, I think I will do a tutorial.
 It is double sided so you don't have to stuff around with binding, and you could do any combination of fabrics.
Stay tuned for tutorial in the next few days. xo Screamstress

Tuesday, November 9, 2010

Matching!

Spawnette loves matching at the moment, so I thought a nice gift idea for her friend's birthday would be matching skirts.  Annie the Cat had to be included too, of course!
I used some nice bright fabric scraps, made big pockets for 3yr old essentials like rocks and hankies.  One skirt has a yoke because I didn't have enough fabric.
As with most of my sewing projects I completed them at night when everyone was sleeping, so first thing in the morning we raced out to take some photos.  You can see my photo-taking shadow on the left, and on the right the tyre swing!
The only drawback is that until I made Annie the Cat a t-shirt, Spawnette is insisting on going topless so that she matches!

Monday, November 8, 2010

Whoops!

In my gloom this morning I forgot to mention my ALL TIME FAVOURITE BOOK EVER!  Click the link for a synopsis.
I loved reading in a few of the comments what everyone else's favourite reads are, so I'll ask officially to get them all in the same place - What are your favourite reads of all time?  (This may also come in handy when I'm compiling my christmas wishlist:)

Screamstress - A Novel

Feeling a little down. 
Wondering where the line is between trying hard and admitting you can't do it.
(The French Lieutenant's Woman by John Fowles)
So I've been thinking of the books I'd read again.
And maybe I will keep trying.
Related Posts with Thumbnails